Publish
Build your MCP server image and push it to agentregistry so that you can start sharing the MCP server with other teams and deploying it to any environment.
About publishing MCP servers
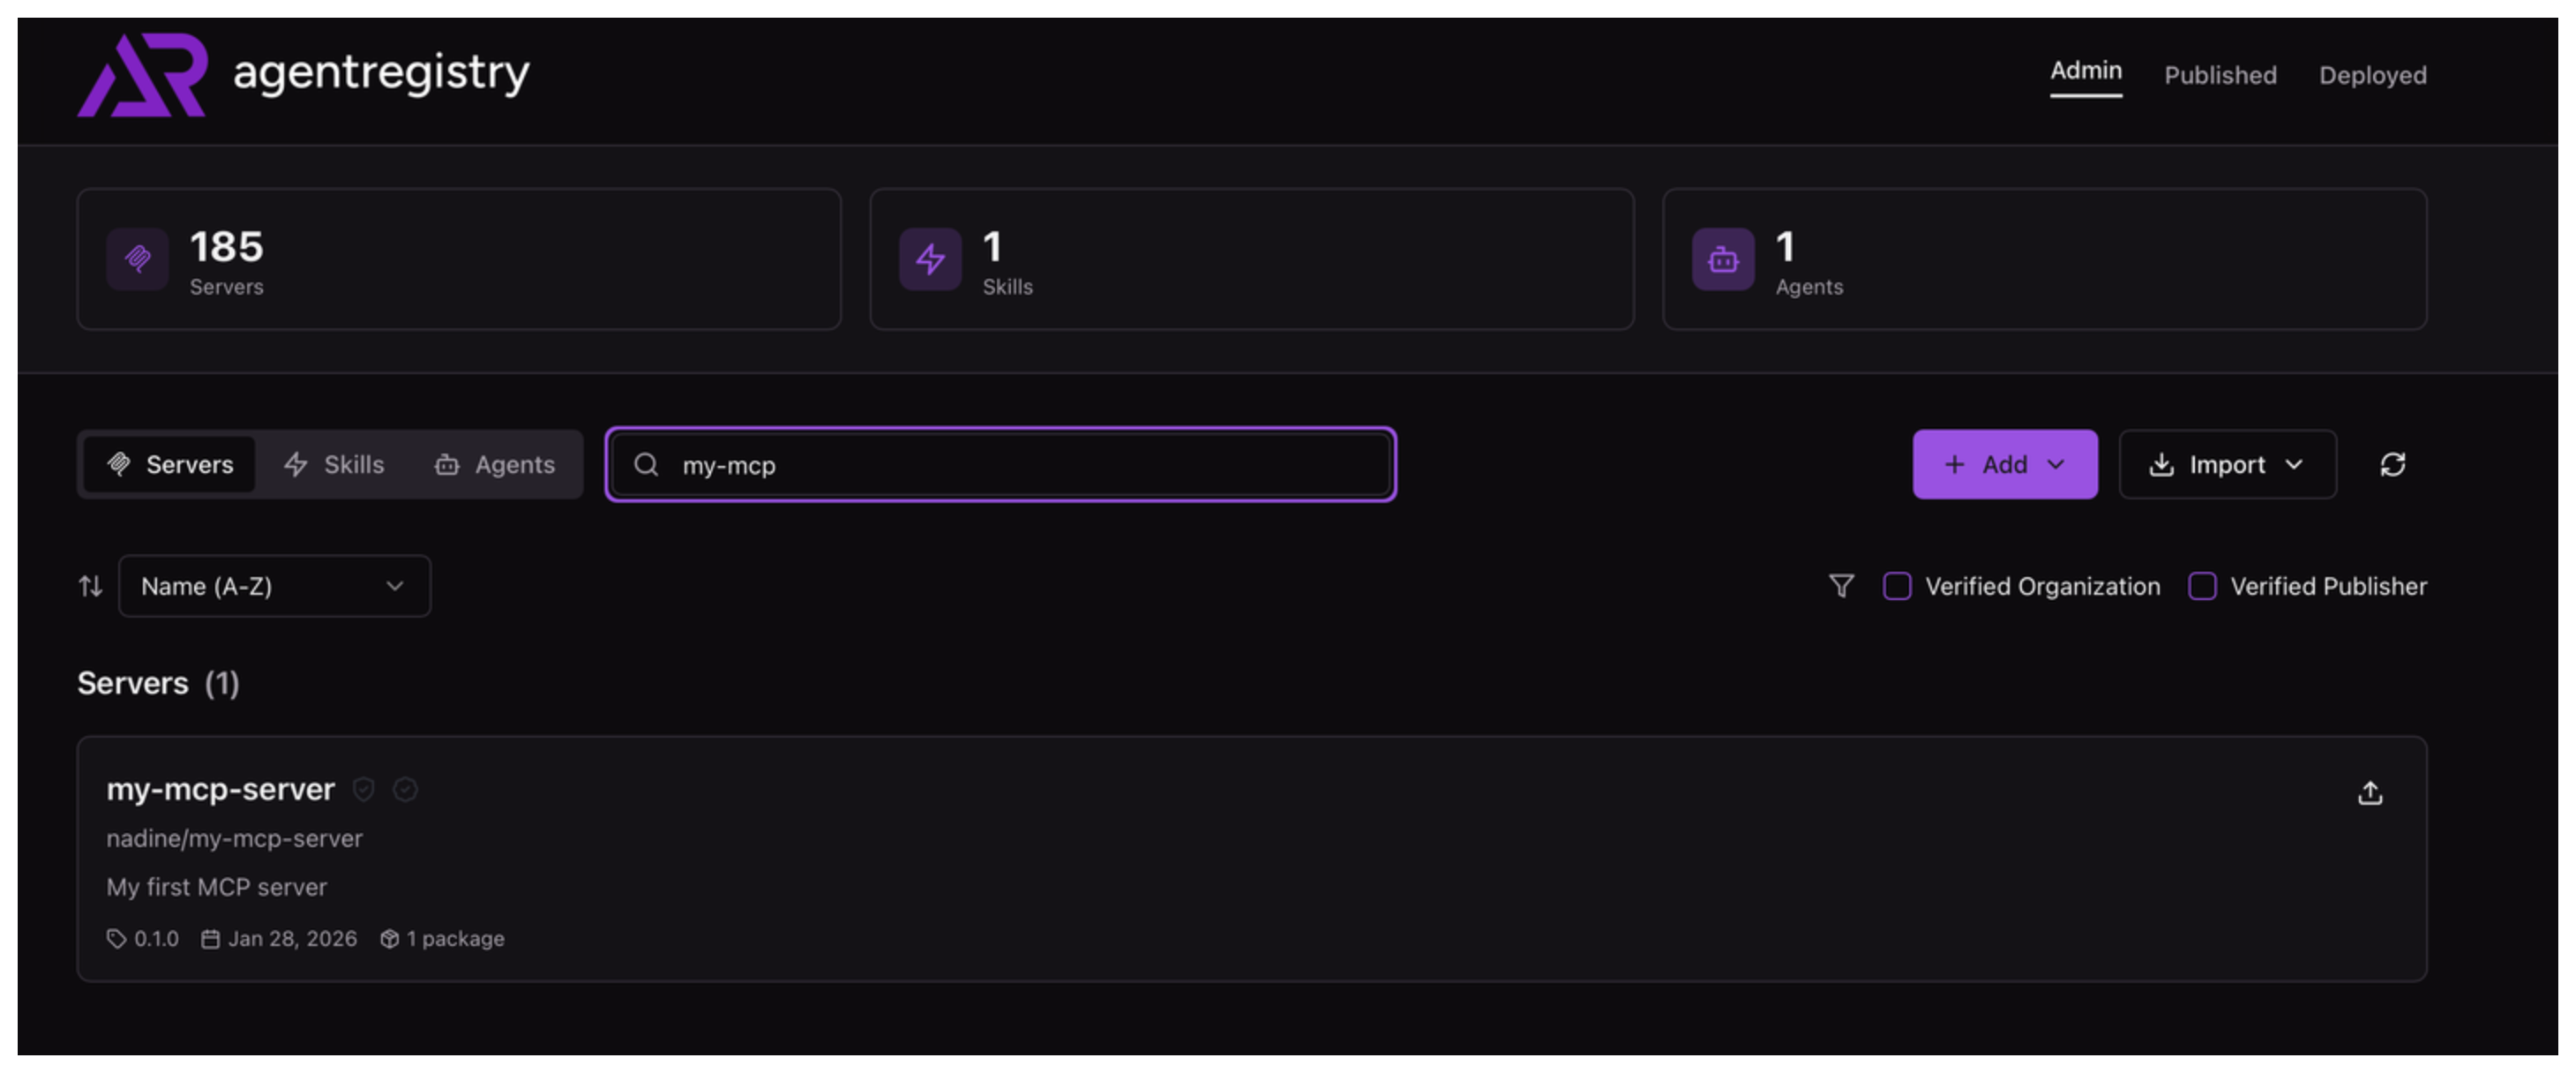
Agentregistry serves as a catalog for your AI artifacts, including agents, skills, and MCP servers. To control which images you want to make available to your teams, you can use the publishing capability in agentregistry. If an image is published, a reference to its container image location is stored in agentregistry. This allows teams to quickly discover approved MCP servers and deploy them from the registry.
Before you can publish an image reference, you must first build the image. Agentregistry provides the following options for building your MCP server images:
- Build the image locally. This option assumes that you want to build the MCP server image on your local machine only, such as for local test setups. The image is not pushed to your container registry. While you can still create a catalog entry for the MCP server image in agentregistry by using the
arctl mcp publishcommand, you cannot deploy the image to a Kubernetes cluster, unless you manually load the image to your cluster. - Build and push: This process allows you to build the MCP server image on your local machine and push it to your container registry. Note that this option requires you to be logged into the container registry that you want to use.
For testing purposes, the instructions in this guide assume that you do not want to use agentregistry to push the image to your container registry.
Before you begin
- Follow the Get started guide to set up agentregistry and start the agentregistry daemon.
- Create an MCP server.
Publish the server
-
If you have not done so yet, build the MCP server image on your local machine.
arctl mcp build my-mcp-server --image my-mcp-serverTo also use agentregistry to push the image to your container registry, include the--pushoption and set the--docker-urlto your container registry address. You can also set the platform, for which you want to build the image, such aslinux/amd64by using the--platformoption. For more information, see the arctl mcp publish command. Make sure that you are logged in to your container registry before you run the command.Example output:
Building Docker image for python project... #0 building with "desktop-linux" instance using docker driver #1 [internal] load build definition from Dockerfile #1 transferring dockerfile: 1.84kB 0.0s done #1 DONE 0.1s #2 [internal] load metadata for ghcr.io/astral-sh/uv:latest #2 ... #3 [auth] library/python:pull token for registry-1.docker.io ... #24 unpacking to docker.io/library/my-mcp-server:0.1.0 0.9s done #24 DONE 3.1s ✓ Successfully built Docker image: my-mcp-server:0.1.0 -
Publish the image to agentregistry. The following command builds and tags the MCP server image as
docker.io/user/my-mcp-server:0.1.0and creates a catalog entry for the server in agentregistry. The catalog entry assumes that the image is located in thedocker.io/userimage registry. Note thatdocker.io/useris a dummy container registry address that is used for testing purposes only.arctl mcp publish my-mcp-server \ --type oci \ --package-id my-mcp-serverExample output:
Author not specified, defaulting to 'user' Publishing MCP server: user/my-mcp-server (v0.1.0) ✓ Published: user/my-mcp-server (v0.1.0) -
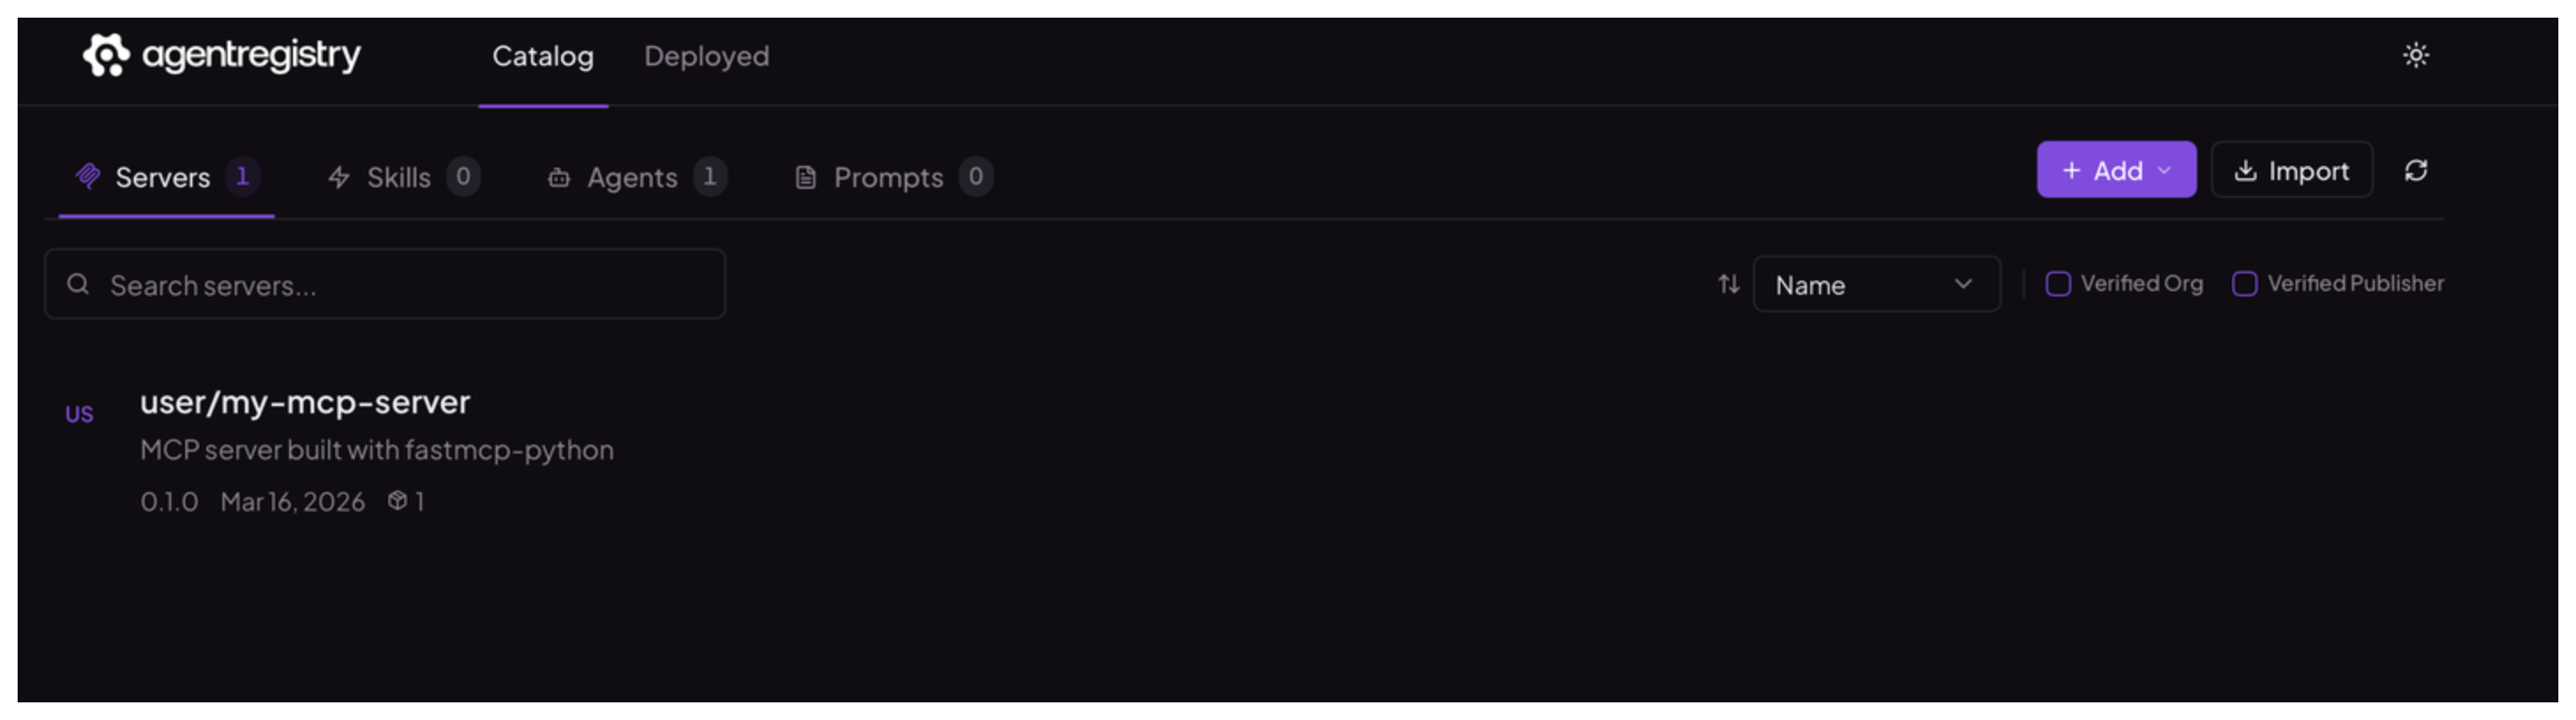
List the MCP server image references in your registry. Verify that you see the
my-mcp-serverMCP server image that you just published.arctl mcp listExample output:
NAME VERSION TYPE DEPLOYED UPDATED user/my-mcp-server 0.1.0 oci False 37s -
Optional: Open the agentregistry UI and go to the Servers view. Verify that you can see your MCP server image.
Cleanup
To delete an MCP server from agentregistry, use the arctl mcp delete command.
arctl mcp delete user/my-mcp-server --version 0.1.0